
I did the install yesterday and I've only had the bike out once, but, as a test, I have stopped and restarted eight times in three minutes and I didn't get any "attitude" from the battery. It just kicked over with authority. This is a far cry from both of the Exide's I've had that started acting tired after three consecutive starts. The bike was connected to the BMW charger last night, and I'm under the impression that it didn't cycle. I never caught it with anything but a green light after it completed it's first climb to green. This all feels good since my first Exide died at 972 miles, stranding me, and the warrantee replacement battery, at 4300 miles is noticeably less peppy than when it was new.
Here's what I did:
1. Preparing the PC535:
1.1 Remove the sheet copper terminals by cutting off the plastic strain reliefs and removing the nuts from the terminal studs.
1.2 Fold the sheet copper terminals on a line between the two unthreaded holes. This can be done with a tool maker's vise and a hammer. Take care to keep the fold between the holes and to fold to 90 degrees. The modified terminals are shown below.
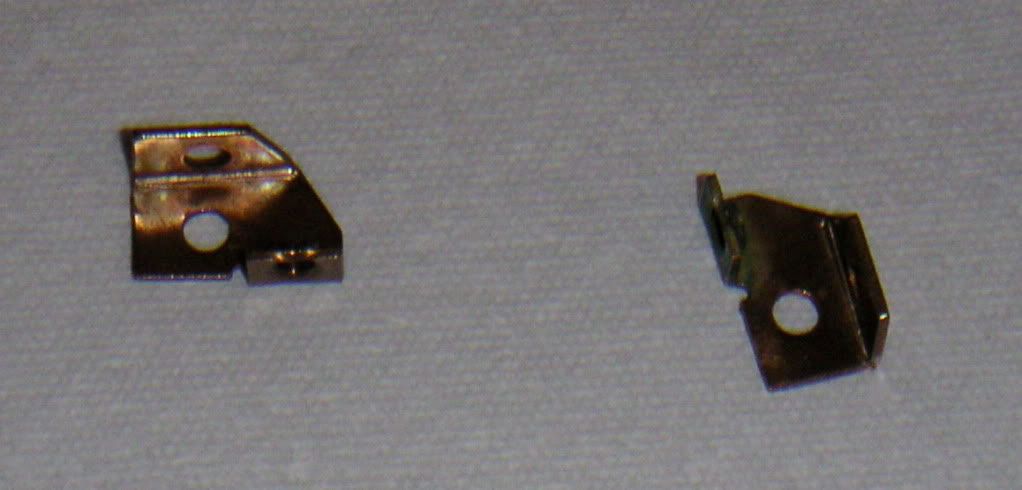
1.3 Install the terminals on their original studs but rotated 90 degrees from their original orientation. This will provide a threaded hole in each terminal very close to the location of the terminal holes in the Exide. The cable routing will remain unchanged.
1.4 Cut the plastic fins on the side of battery nearest the Negative terminal as shown below.
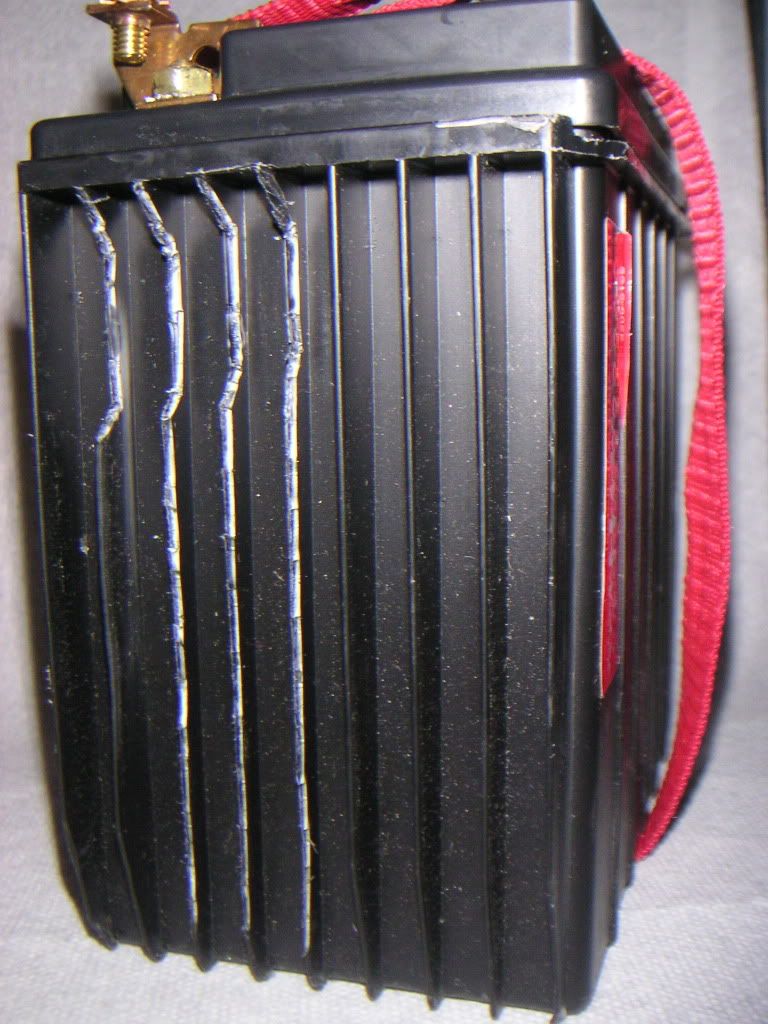
I made the cuts using an "end nipper" and a "diagonal cutter" from my electronics tool kit. They aren't as clean as the cuts made with a blade, but they let me minimize the amount I removed. My guess is the fins are stiffeners and the designers put them there for more than good looks. The cuts accommodate the seat hold-down prongs and allow the battery to slide in most of the way. The deeper cuts near the Negative terminal allow the battery to be moved to the left enough to allow the right side lip of the battery to squeeze past the right side prong. The battery can then be pushed to the right to clear the left prong.
1.5 Cut the plastic fins on the side of the battery nearest the Positive terminal as shown below.
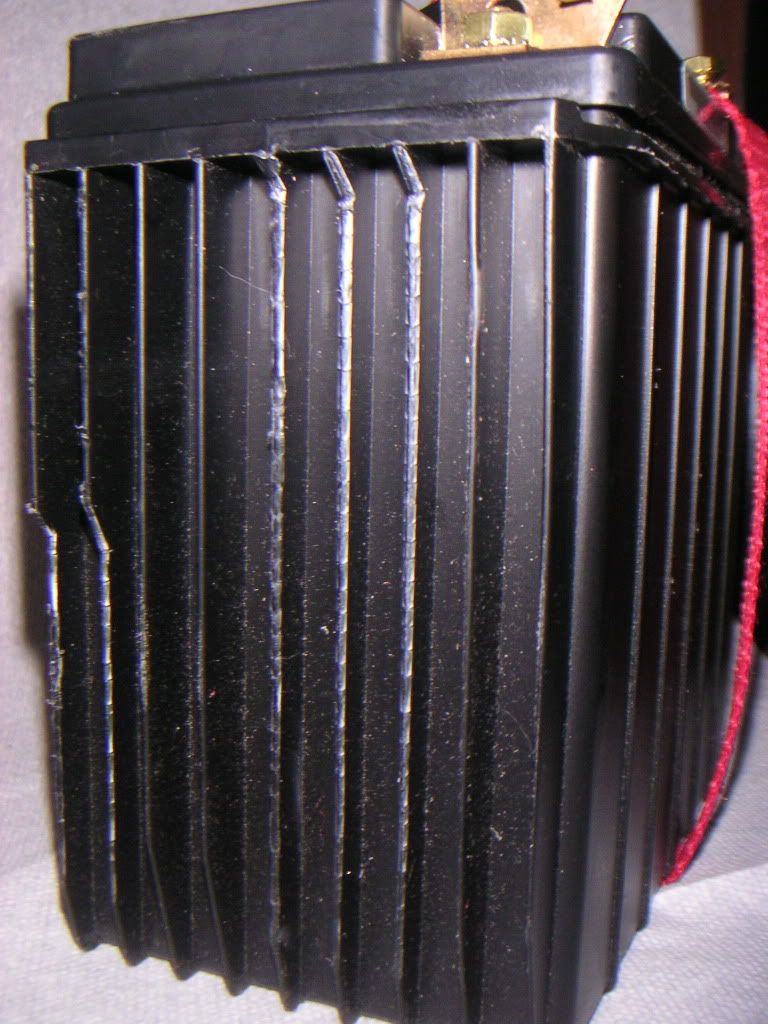
The cuts near the bottom corner lets the battery clear a connector that's strapped to the R1200R frame.
2. Remove Exide battery by:
2.1 Disconnecting the Negative terminal
2.2 Disconnecting the Positive terminal
2.3 Cutting any cable ties that hold the cable over the battery, blocking its exit path
2.4 Remove the battery strap.
2.5 Move the battery up until it's clear of the bike. I put mine on a trickle charger.
3. Prepare the battery strap hardware:
3.1 Trim the ridges at the back of the battery box near the strap screw hole as shown in the Adventure Rider Forum: (http://www.advrider.com/forums/showthread.php?t=320214).
3.2 Flatten some curves of the battery strap as shown below:
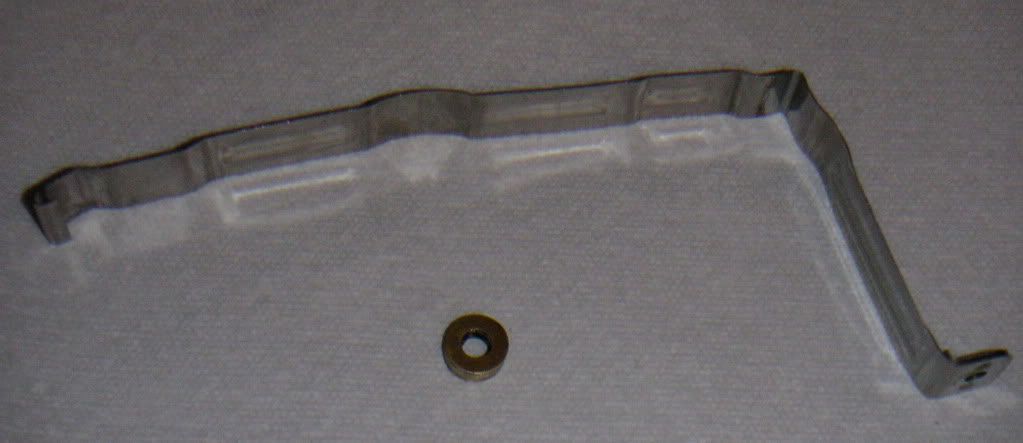
I squeezed the strap in a vise to get out most of each curve and then hammered the rest mostly out.
3.3 Solder six number six brass washers together to make a spacer (also shown above) that will fit between the battery strap and the strap screw hole when installed.
4. Install the battery:
4.1 I placed a (red) nylon strap around the battery to use as a handle. This is clearly optional, but it make things so much easier that I left it on the battery for future use.
4.2 Orient the battery with the contacts toward the front of the bike and lower it to the point where it is stopped by the lip of its case hanging up on the seat holding prongs.
4.3 Pull the battery toward the left side of the bike and ease the lip over the right prong.
4.4 Pull the battery toward the right side of the bike and as the lip clears the left prong it should fall into place.
4.5 Push the battery toward the front of the bike.
4.6 Slide the battery strap into place and hook it over the bottom of the battery box.
4.7 Thread the strap screw through the screw hole in the strap, thread the spacer onto the screw, thread the screw into the screw hole in the battery case and tighten until firm.
4.8 Attach the battery cables using the screws and star washers provided with the battery.
4.9 Replace the zip ties that held the cables to the bike frame (cut in step 2.3).
5. Finished

Smile, put the seat back on, enjoy.
Good luck,
Liam

